Pressure testing a pool line involves conducting a test to check for leaks or weaknesses in the pool’s plumbing system. During the test, the line is pressurized to detect any loss of pressure, indicating a potential issue. This process helps identify and fix leaks, ensuring the pool functions properly and avoids water wastage. Regular pressure tests are essential for maintaining a well-maintained and leak-free pool system.
Dive into hassle-free pool maintenance with our step-by-step guide on ‘How To Pressure Test A Pool Line?’ Uncover the secrets to a leak-free pool system in just a few simple steps. Don’t let leaks dampen your poolside fun – take action today and ensure your pool is ready for endless splashes and enjoyment!
Learning how to pressure test a pool line is crucial for maintaining a leak-free and efficiently functioning pool system. By conducting this test, pool owners can identify and fix any potential leaks or weaknesses in the plumbing, ensuring proper water circulation and preventing water wastage. Following simple steps and using the right tools, anyone can successfully perform a pressure test, promoting a trouble-free and enjoyable pool experience.
Introduction to Pool Line Pressure Testing
Why is Pool Line Pressure Testing Important?
Ah, the joys of owning a pool! Splashing around on a hot summer day, hosting epic pool parties, and of course, dealing with occasional maintenance issues. One such important maintenance task is pool line pressure testing. But why is it so important, you ask? Well, my friend, pressure testing allows you to check for any leaks or weaknesses in your pool line system. It’s like giving your pool line a thorough health check-up to ensure everything is in tip-top shape.
The Benefits of Regular Pool Line Pressure Testing
Regular pool line pressure testing brings a bunch of benefits your way. First and foremost, it helps you detect any hidden leaks. Leaks in the pool line can lead to water loss, increased utility bills, and even damage to your property. By identifying and fixing these leaks early on, you can save yourself from a major headache down the line.
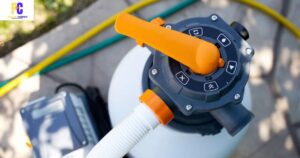
Essential Tools and Equipment for Pool Line Pressure Testing
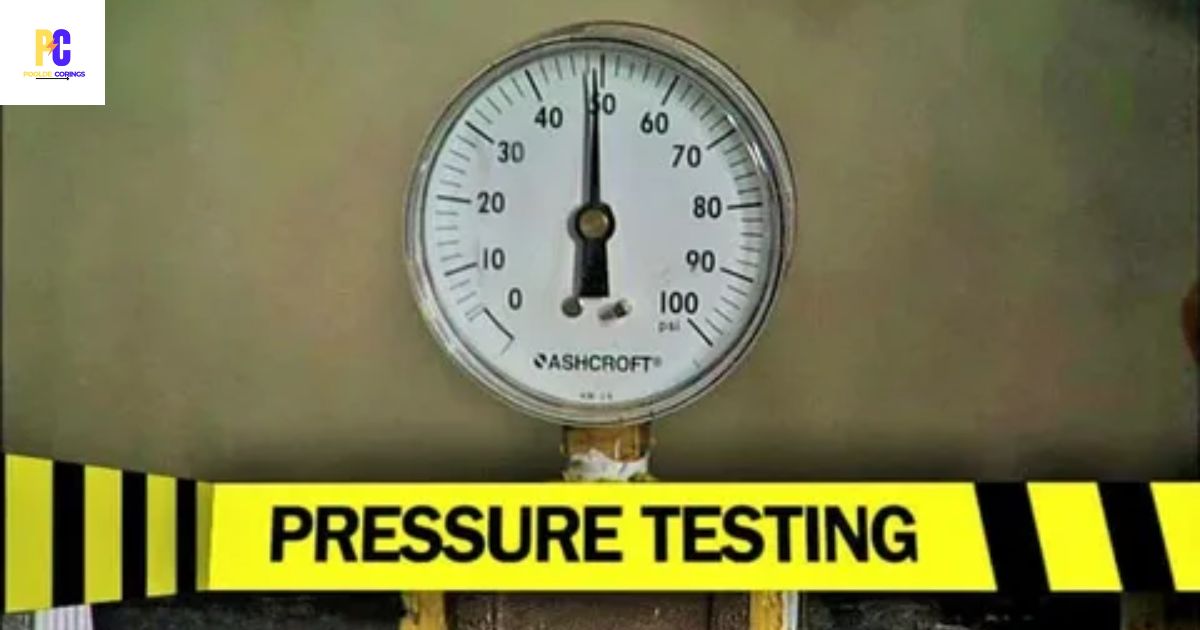
Pressure Testing Gauge
Now, let’s talk about tools of the trade. To pressure test your pool line, you’ll need a trusty pressure testing gauge. This handy device helps you measure the pressure inside the line, giving you a clear idea of its health. Make sure you get a gauge that’s compatible with your pool’s pressure range for accurate readings.
Plugs and Caps
Next up, plugs and caps. These little heroes help you seal off the various openings in your pool line, ensuring that the pressure stays contained during the testing process. Think of them as the protective armor for your pool line.
Teflon Tape
Ah, good ol’ Teflon tape! This versatile tape is the sealant superhero of the plumbing world. It’s great for creating watertight connections between pipes and fittings, ensuring you don’t have any pesky leaks during the pressure testing.
Pressure Relief Valve
Last but not least, a pressure relief valve is a must-have. This nifty little valve allows you to release excess pressure in a controlled manner, preventing any sudden surprises or damage to your pool line. Safety first, my friend!
Preparations for Pool Line Pressure Testing
Shutting Off the Pool Equipment
Before you get down to business with pressure testing, it’s essential to shut off all your pool equipment. We don’t want any rogue water flows or unexpected surprises, do we? So be sure to turn off the pump, filter, and any other equipment connected to your pool line.
Draining Water from the Pool Line
Now, let’s get that pool line nice and dry for the pressure test. Drain the water from the line by opening any drain valves or releasing any existing pressure. We want a clean slate here, free of any water interference.
Inspecting and Cleaning the Pool Line
Before you dive into pressure testing, it’s always a good idea to inspect and clean your pool line. Check for any obvious signs of damage, like cracks or holes, and give the line a thorough clean to remove any debris or gunk that might affect the accuracy of the pressure test. A clean pool line is a happy pool line!
Step-by-Step Guide to Pressure Testing a Pool Line
Follow our easy step-by-step guide to pressure test your pool line effectively. Identify leaks and ensure your pool system works flawlessly. Our guide simplifies the process, making it accessible for all pool owners.
| Step | Description |
| 1 | Gather necessary tools and equipment. |
| 2 | Shut off pool pump and drain water from lines. |
| 3 | Attach pressure gauge to pool line. |
| 4 | Pressurize the line and monitor gauge readings. |
| 5 | Check for drops in pressure indicating leaks. |
| 6 | Locate and repair any identified leaks. |
| 7 | Re-test the line to ensure it’s leak-free. |
By following these simple steps, you can ensure your pool line is free from leaks and your pool functions efficiently.
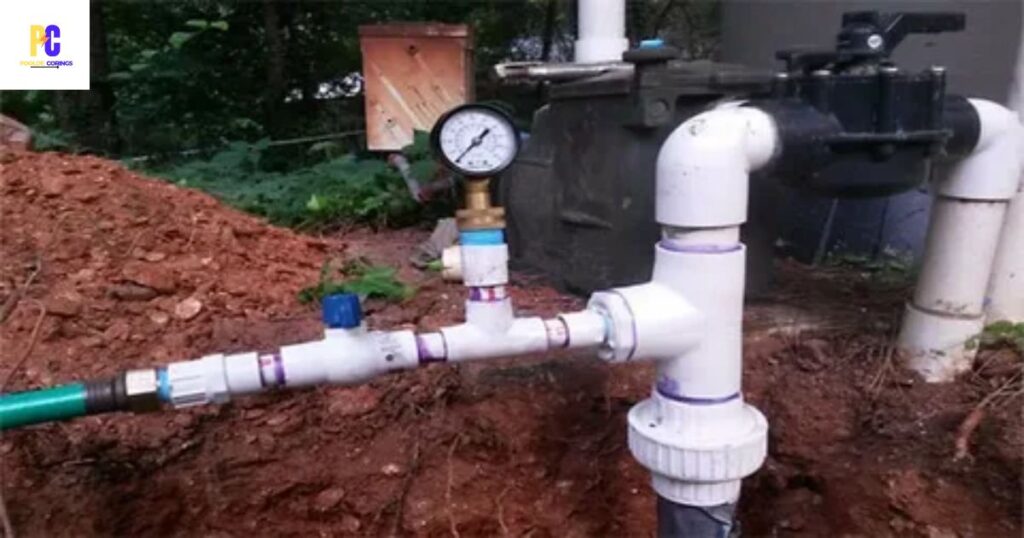
Connecting Pressure Testing Gauge
Now, it’s time to connect your pressure testing gauge to the pool line. Choose a suitable location on the line and attach the gauge according to the manufacturer’s instructions. Double-check that the connection is tight and secure, just like your grip on a refreshing poolside drink.
Pressurizing the Pool Line
Alright, we’re almost there! Slowly and steadily, start pressurizing the pool line by introducing air or water into the system. Keep a close eye on your pressure testing gauge and make sure the pressure doesn’t exceed the recommended range for your pool. Remember, we’re testing, not breaking records here!
And there you have it, my fellow pool enthusiasts – a comprehensive guide to pressure testing your pool line. With regular pressure testing, you can ensure your pool line remains leak-free and in top-notch condition. So go out there, give your pool line a little love, and keep the splashes going strong!
Identifying and Fixing Leaks in the Pool Line
Signs of Pool Line Leaks
Ah, the dreaded pool line leaks. They can turn a relaxing dip in the pool into a frustrating game of “Where’s Waldo?” as you search for the source of the problem. Signs of pool line leaks can include a drop in water level, air bubbles coming from the return jets, or soggy spots in the ground around the pool area. Keep an eye out for these telltale signs, and if you spot them, it’s time to roll up your sleeves and go leak hunting.
Locating the Source of the Leak
Finding the exact location of a pool line leak can be a bit like finding a needle in a haystack. But fear not, there are a few tricks up our sleeves to make this task a little less daunting. One method is using dye testing, where you add a small amount of dye to the water near suspected leak points and see if it gets sucked into the crack or hole.
Another option is using a listening device to detect the sound of water escaping under the ground. It’s like playing detective, except instead of solving crimes, you’re solving pool mysteries. Once you’ve pinpointed the source of the leak, it’s time for the grand finale.
Repairing Pool Line Leaks
Now that you’ve found the leak, it’s time to bust out your DIY skills and fix that sucker. Depending on the size and location of the leak, you may need to replace a section of the pool line, repair a crack with epoxy putty, or use a patch kit for minor leaks. Remember to follow the manufacturer’s instructions and take your time to ensure a proper fix.
Troubleshooting Common Issues during Pressure Testing
Pressure Drops or Fluctuations
Picture this: you’ve successfully set up your pressure testing equipment, and everything seems to be going well until you notice the pressure dropping faster than your Wi-Fi signal during peak hours. This could be a sign of a leak or a faulty testing setup. Check the connections, valves, and plugs for any signs of air escaping or loose fittings. If all else fails, you might need to call in the professionals to save the day.
Leaks at the Plugs or Caps
It’s frustrating when the very things meant to seal off the pool line during pressure testing turn out to be the culprits behind the leaks. If you notice air hissing out from the plugs or caps, give them a good tighten or replace them altogether. Sometimes it’s as simple as that. Just remember to save your frustration for screaming into a pillow instead of directing it at those poor plugs.
Inaccurate Pressure Readings
So, you’re staring at the pressure gauge, and the numbers are all over the place like
Safety Considerations during Pool Line Pressure Testing
- Assess the problem carefully before attempting any DIY fixes.
- Research reliable sources or tutorials for step-by-step guidance.
- Gather necessary tools and safety equipment before starting the repair.
- Follow instructions meticulously to avoid further damage or complications.
Wearing Protective Gear
Pressure testing a pool line may not be a high-stakes action movie, but it’s still important to protect yourself. Wear safety goggles to shield your eyes from any potential debris flying around and gloves to save your hands from cuts or chemicals.
Working with Caution
When handling equipment and tools during pressure testing, it’s best to channel your inner Zen master and move with slow, deliberate movements. Rushing and being careless can lead to accidents or further damage to the pool line. So take your time, be patient, and remember that slow and steady wins the race (or in this case, keeps your pool line intact).
Avoiding Over-pressurization
Just like how you can’t turn a pancake into a soufflé, you can’t over-pressurize a pool line without consequences. Make sure to follow the manufacturer’s instructions for the correct pressure range and avoid exceeding it. Too much pressure can cause leaks, burst pipes, or even catastrophic pool line failure. And trust us, you don’t want to be the person dealing with a flooded backyard.
So, go forth and conquer the pool line pressure testing like the superhero you are. With these tips and a sprinkle of DIY magic, your pool will be leak-free and ready for some serious splash-time fun!
FAQ,s
What is a pool line pressure test?
A pool line pressure test is a method used to check for leaks or issues in a pool’s plumbing system by pressurizing the lines to detect any loss of pressure, indicating potential problems.
Why is it important to pressure test a pool line?
Pressure testing a pool line is important to identify and fix leaks, ensuring proper water circulation, preventing water wastage, and maintaining an efficiently functioning pool system.
Can I pressure test my pool line myself?
Yes, you can pressure test your pool line yourself. With the right tools and following step-by-step instructions, it is a manageable DIY task for pool owners.
How often should I conduct a pool line pressure test?
It is recommended to conduct a pool line pressure test at least once a year as part of regular pool maintenance. Additionally, perform the test if you suspect a leak or notice a drop in water level.
What do I need to perform a pool line pressure test?
To perform a pool line pressure test, you will need a pressure testing kit, plugs to seal the lines, a pressure gauge, and access to the pool’s plumbing system. Detailed instructions are usually provided with the testing kit to guide you through the process.
conclusion
Learning how to pressure test a pool line is essential for maintaining a properly functioning swimming pool. By following the steps outlined above, you can easily identify and fix any leaks or issues in your pool line.
Regular pressure testing not only ensures the safety and efficiency of your pool system but also helps you save money on potential water and energy wastage. So, don’t hesitate to perform this simple test and enjoy a leak-free and enjoyable swimming experience in your pool. Remember, a well-maintained pool line leads to a happy and healthy pool!