An overlap pool liner is a protective layer made of durable material designed to fit inside an above-ground swimming pool. It overlaps the pool’s walls and is secured in place with coping strips or clips. This liner prevents water leakage, enhances the pool’s appearance, and provides a smooth surface for swimmers. It is easy to install and an essential component for maintaining a well-functioning and visually appealing above-ground pool.
Ready to transform your above-ground pool into a refreshing oasis? Discover the secrets to a seamless pool makeover with our step-by-step guide on ‘How To Install An Overlap Pool Liner?’ Dive into the world of hassle-free installation and enjoy a leak-free, stunning pool. Let’s make your dream pool a reality – follow our expert tips and take the plunge today!
Installing an overlap pool liner is a straightforward process that ensures your above-ground pool stays leak-free and visually appealing. Begin by draining the pool partially, removing the old liner, and preparing the pool walls. Carefully fit the new liner over the pool’s edge, secure it in place using coping strips or clips, and smooth out any wrinkles
Introduction to Overlap Pool Liners
If you’re a proud owner of an above-ground pool, you know how important it is to keep it in tip-top shape. One essential component for maintaining your pool’s durability and aesthetic appeal is the pool liner. Today, we’ll be focusing on the installation of an overlap pool liner—a popular and budget-friendly option. So, let’s dive right in and learn how to install an overlap pool liner like a pro!
Tools and Materials Needed for Installation
Essential Tools
To get started, gather the following tools.
– A utility knife: for precise cutting
– A tape measure: to ensure accurate dimensions
– A pool brush or broom: for cleaning the pool surface
– A shop vacuum: for draining excess water
– A hose: for rinsing and cleaning
Required Materials
You’ll also need these materials.
– An overlap pool liner: make sure to measure your pool’s dimensions accurately before purchasing
– Pool cove or sand: to protect the pool walls
– Gorilla Tape or duct tape: for securing the liner during installation
– Pool coping strips: to hold the liner in place
– Pool chemicals: to balance the water chemistry after installation
Preparing the Pool for Liner Installation
Draining and Cleaning the Pool
Before installing the new liner, it’s necessary to empty the pool completely. Grab your trusty shop vacuum and remove all the water. Once the pool is drained, thoroughly clean the walls and floor using a pool brush or broom to remove any debris or algae.
Inspecting and Repairing the Pool Surface
To properly install a Unibead pool liner, it’s essential to begin with a thorough inspection of the pool surface for any damage, such as cracks or sharp edges. Smooth out any imperfections and repair them if needed. A smooth surface ensures a better fit and prolongs the life of the liner. If your pool has a sand bottom, make sure it is leveled and compacted properly. This initial step is crucial for the successful installation of your Unibead pool liner.
Step-by-Step Guide to Installing an Overlap Pool Liner
Measuring and Ordering the Correct Size Liner
Before ordering a liner, measure the dimensions of your pool accurately. Remember to include the depth when measuring. A liner that is too small won’t fit properly, while an oversized liner will create wrinkles and make installation challenging.
Preparing the Liner for Installation
Unfold the liner and let it relax in the sun for a little while. This will help remove any creases or folds. Once the liner is ready, it’s time to install it in the pool.
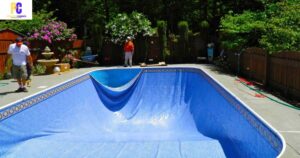
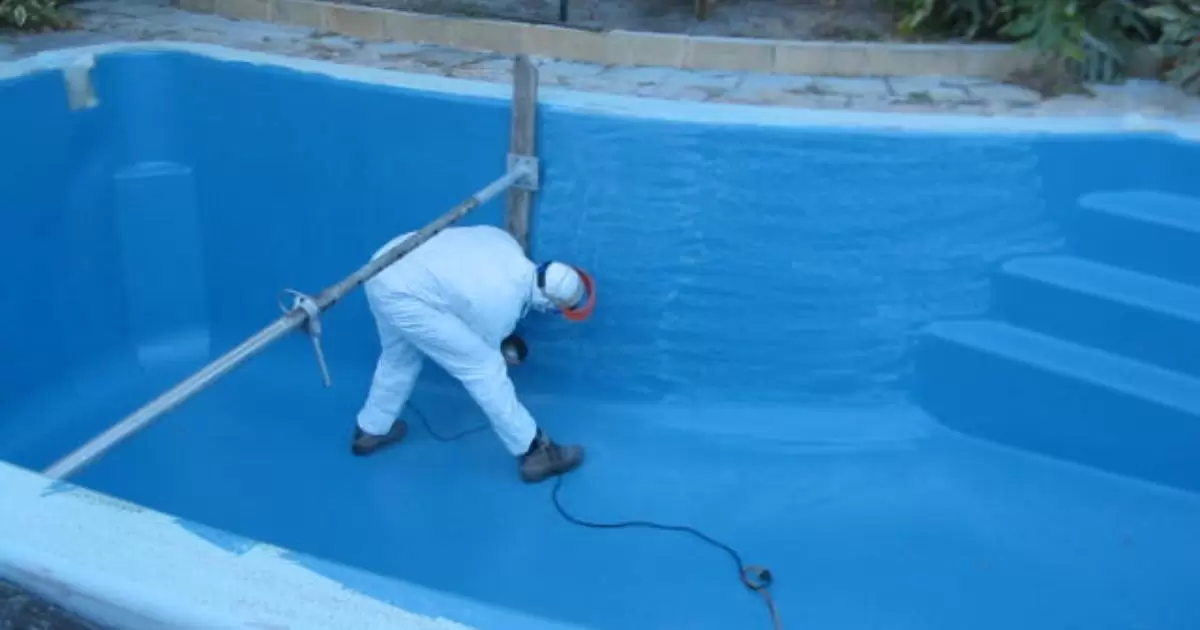
Placing and Adjusting the Liner in the Pool
Carefully position the liner in the pool, ensuring it covers the entire surface. The excess material should overlap the pool wall evenly. Adjust the liner to make sure it is centered and level.
Removing Wrinkles and Air Pockets
Starting from the center, smooth out the liner towards the pool walls, removing any wrinkles or air pockets as you go. This step requires a bit of finesse and patience. You can use a pool brush or your hands to press the liner against the pool walls, eliminating any unsightly bumps.
Trimming Excess Liner and Securing the Edges
Trim the excess liner, leaving a few inches of overlap. Secure the liner to the pool wall using pool coping strips. Ensure the liner is snugly fitted before moving on. Finally, use Gorilla Tape or duct tape to temporarily secure the liner edges until you can install the top rail.
Now, step back, take a deep breath, and admire your newly installed overlap pool liner. You did it! Time to fill up the pool with water, add the necessary pool chemicals, and get ready to make a splash this summer.
Remember, installing an overlap pool liner requires some patience and attention to detail, but with a little effort, you can achieve professional-looking results. Before you know it, you’ll be enjoying your pool with confidence, knowing you saved some money and tackled the installation yourself. Happy swimming!
Securing and Finishing the Liner Installation
Attaching the Coping Strips
Now that you’ve carefully installed the overlap pool liner, it’s time to secure it in place. The first step is attaching the coping strips. These handy little strips serve as a barrier between the liner and the top rail of your pool. They help keep the liner firmly in place and give your pool that finished look.
To attach the coping strips, start at one end of the pool and work your way around. Simply snap the strips into place on the top edge of the pool wall, making sure they are securely fastened. It’s like giving your pool liner a fashionable belt!
Adding Water and Adjusting the Liner
Once the coping strips are in place, it’s time to add water to your pool. Begin filling it up slowly, while keeping an eye on the liner. As the water level rises, the liner will naturally adjust and settle into place.
During this process, you may need to gently smooth out any wrinkles or unevenness that may appear. A soft broom or pool brush can be your best friend here. Gently push and guide the liner to ensure a smooth and uniform fit. Think of it as giving your pool liner a little spa treatment.
Installing the Top Rail and Finishing Touches
With the liner adjusted and the pool filled, it’s time to put the finishing touches on your installation. Install the top rail securely, making sure it aligns properly with the coping strips. Give it a good firm push to ensure a snug fit. This step adds both stability and style to your pool.
Once the top rail is in place, take a step back and admire your handiwork. Give yourself a pat on the back (figuratively, of course) for a job well done. Your pool is now complete and ready for some splashing good times!
Tips and Troubleshooting during Installation
Common Mistakes to Avoid
While installing an overlap pool liner is relatively straightforward, there are a few common mistakes to watch out for. Firstly, make sure you measure your pool accurately before purchasing a liner. A liner that’s too big or too small can cause headaches during installation.
It’s also important to clean and prepare the pool wall thoroughly before installing the liner. Any dirt or debris left behind can create bumps or imperfections that may affect how the liner fits.
Lastly, take your time during the installation process. Rushing can lead to errors or even accidents. Remember, slow and steady wins the pool liner installation race!
Troubleshooting Wrinkles and Unevenness
Sometimes, despite your best efforts, wrinkles or unevenness can appear in your pool liner. Don’t panic! This is a common issue that can be easily fixed.
Firstly, try adjusting the water level. Slightly draining or adding water can help smooth out any wrinkles. You can also use a pool brush or broom to gently push the liner towards the wrinkles, guiding them out as the water adjusts.
If the wrinkles persist, you may need to empty the pool partially and readjust the liner more thoroughly. Again, be patient and take your time. With a little effort, those pesky wrinkles will soon be a thing of the past.
Maintaining and Caring for an Overlap Pool Liner
Cleaning and Preventing Stains
Keeping your pool liner clean and stain-free is essential for its longevity and appearance. Regularly brush and vacuum the surface of the liner to remove any debris or dirt. Avoid using abrasive cleaners or brushes that can damage the liner.
To prevent staining, it’s important to maintain proper water chemistry. Test and balance the pool water regularly to prevent the buildup of minerals, algae, or other substances that can cause discoloration. A clean liner is a happy liner!
Inspecting and Repairing Damages
Periodically inspect your pool liner for any signs of damage. Look for tears, holes, or fading colors. If you notice any issues, repair them promptly to prevent further damage or leaks.
Small cuts and punctures can be patched using a pool liner repair kit. Follow the instructions carefully, ensuring that the repair is secure and watertight. For more significant damage, it may be necessary to replace the liner altogether. Proper care and maintenance will help extend the life of your pool liner, saving you time and money in the long run.
FAQ,s
Is installing an overlap pool liner difficult?
It’s a manageable process. With proper preparation and following step-by-step instructions, installing an overlap pool liner can be relatively easy and hassle-free.
Can I install an overlap pool liner by myself, or do I need professional help?
Yes, you can install it yourself! Many homeowners successfully install overlap pool liners following online tutorials and manufacturer guidelines. However, if you’re unsure, consulting a professional is a good idea.
How long does it take to install an overlap pool liner?
The installation time varies based on pool size and experience level. On average, it can take anywhere from a few hours to a day to properly install an overlap pool liner, ensuring it fits securely without wrinkles.
What tools and materials do I need for the installation?
You’ll typically need coping strips or clips, a utility knife, a vacuum, a hose, and a screwdriver. Additionally, having a helping hand can make the process smoother.
Can an overlap pool liner be used for any above-ground pool shape and size?
Yes, overlap pool liners are versatile and can be trimmed or adjusted to fit various pool shapes and sizes. They come in different dimensions, allowing you to choose one that best fits your pool’s specifications.
Conclusion
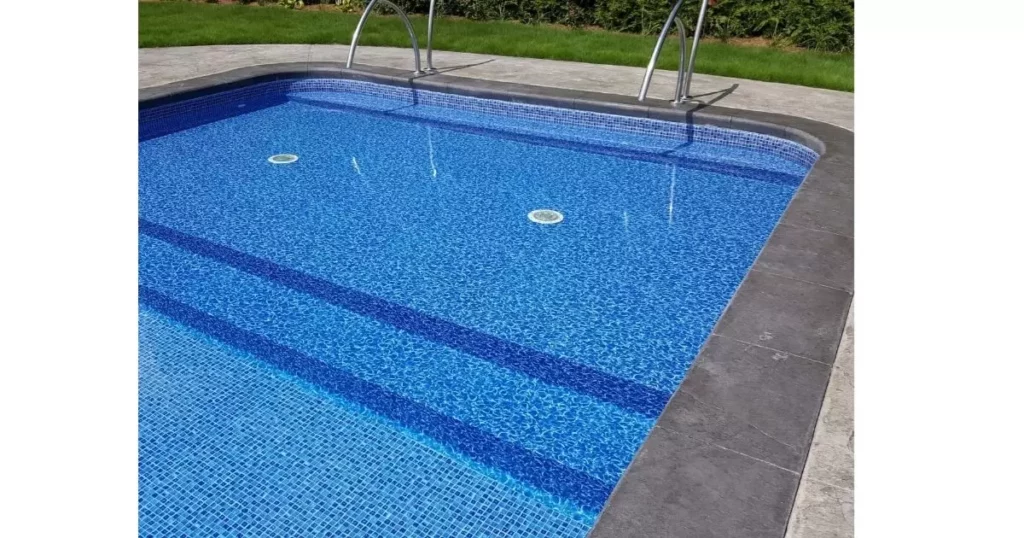
Mastering the art of How To Install An Overlap Pool Liner not only ensures the longevity of your above-ground pool but also enhances its aesthetic appeal. By following the step-by-step guidelines and utilizing the necessary tools, even novice pool owners can successfully accomplish this task. The satisfaction of completing the installation process and witnessing a smooth, wrinkle-free liner snugly fitted inside your pool is incredibly rewarding.
So, whether you’re revitalizing your existing pool or setting up a new one, installing an overlap pool liner is a manageable endeavor that guarantees a leak-free, visually pleasing swimming experience for you and your family. Dive into the world of hassle-free pool maintenance and enjoy the benefits of a professionally installed overlap pool liner today!